| |
Applies To |
|
|
| |
Product(s): |
SewerGEMS, CivilStorm, PondPack |
|
| |
Version(s): |
CONNECT Edition, V8i |
|
| |
Area: |
Modeling |
|
| |
Original Author: |
Jesse Dringoli, Bentley Technical Support Group |
|
Problem
How can I enter and use a Chicago synthetic design storm? How can a Chicago storm IDF data be converted to a time-depth rainfall event?
Problem ID# 91590
Solution
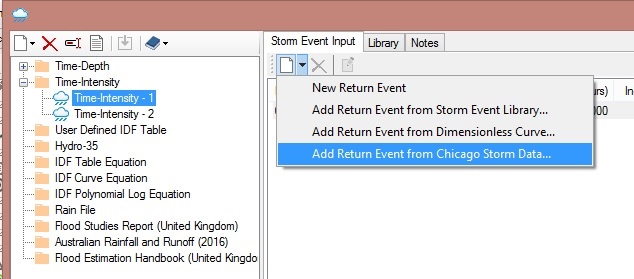
Starting with the CONNECT Edition Update 2 releases of SewerGEMS and CivilStorm, you can now add storm events based on the Chicago Storm method. For users in regions where this method is popular, this enables you to compute and route rainfall runoff using this standard method, without having to calculate it externally and bring in as a user defined hydrograph.
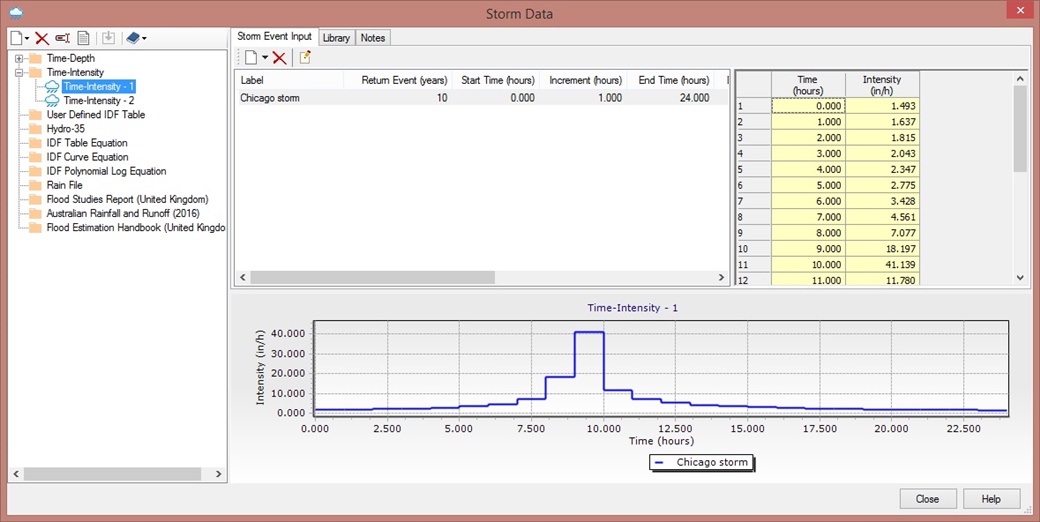
The Chicago Storm method is used to calculate design rainfalls of urban storm water infrastructures. This is now available from the Time-Intensity storm type:
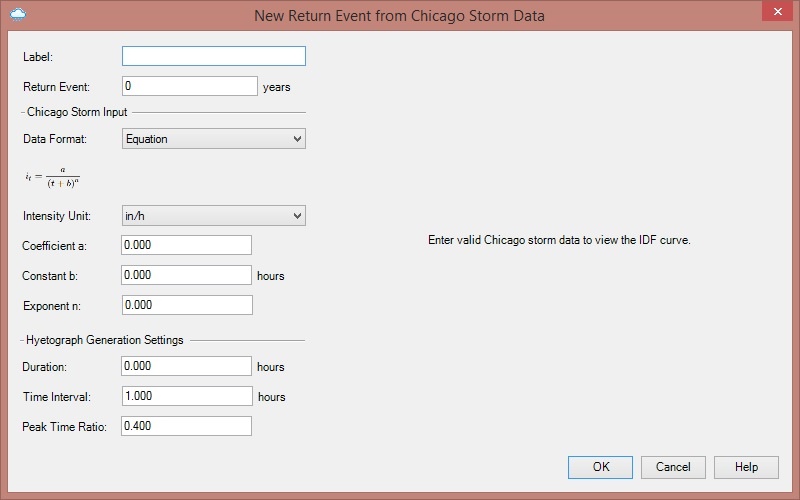
You have two methods that you can use to build the model. First, you can use the equation method, which uses this equation to create an IDF curve:
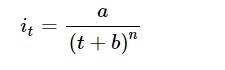
where I is the intensity, t is the duration, and a, b, and n are coefficients. Details on the equation can be found in the Help documentation.
Once you enter some coefficients, you will see a graph of intensity and time.

The second method is a table format. If you select this, you will have the ability to enter data manually in the table. You can also click the import button to import an existing file or existing IDF storm into the table. Data in the table needs to use equal time increments, including if you import the data. You will see a message indicating an issue if the data is incorrect.
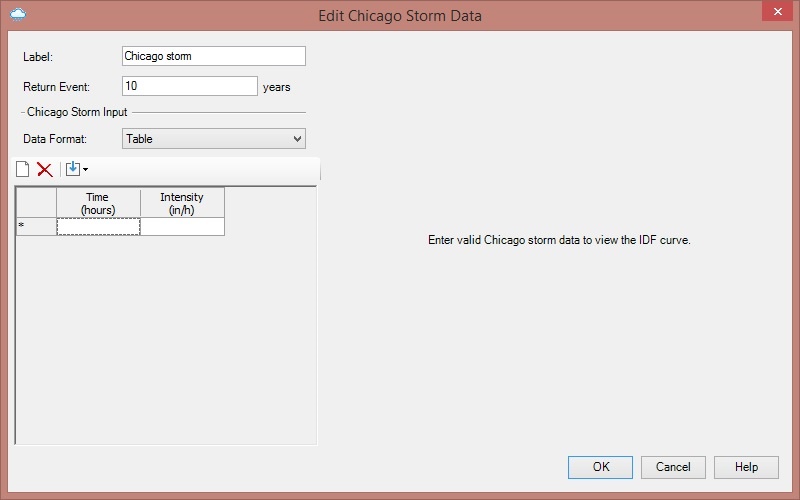
Once the data is inputted and you click OK, a storm will be created and will be available for selection in the Global Storm Events dialog.
Solution for PondPack and older versions of SewerGEMS and CivilStorm
SewerGEMS, CivilStorm and PondPack do not currently have a direct way to enter the Chicago storm IDF data and have it convert automatically based on this method (as the input can take several different forms), but you do have the ability to enter your own dimensionless distributions. Here are the steps to do this:
1) Open a model or start a new one (the storm can be saved and imported into other models)
2) Go to Components > Engineering Libraries
3) Right click on Dimensionless Rainfall Curves, choose Create Library, then store the .xml file somewhere on your computer. If you want to send the storm information to another user/computer in the future, you can send them this file.
4) The new library should appear in the list under Dimensionless Rainfall Curves. Right click on it, choose "Add item" and give it a name.
5) With the new dimensionless curve selected, note the "dimensionless time type" field on the right side. If the 'shape' of your dimensionless distribution only applies to a certain duration (like the 24 hr SCS types), choose "Time". If the distribution can be applied to any given duration, choose "dimensionless time".
6) Click the ellipsis (...) button on the right side, next to "Dimensionless Depths", click the yellow edit button in the window that appears, enter the start, increment and end time.
7) Click OK, then populate the values under the "Depth (%)" column to define the shape of your distribution. Basically for each time value you need to enter a depth fraction based on your Chicago pattern.
8) Click OK and close the engineering library manager
Now, to apply the distribution to a given depth and use the storm in a model:
1) Go to Components > Storm Data
2) Right click on Time-depth on the left side and choose New > Time Depth
3) Click the new time-depth storm event group, give it a name
4) On the right side, click the New button and choose "add return event from dimensionless curve"
Note: you'll notice there's also an option to construct a time-depth curve from an IDF curve. If you enter your IDF table in the engineering library first and choose this option, you can try converting your IDF table directly to a time-depth event, but this may not be the same as the Chicago method. It's best if you come up with the dimensionless curve first, then enter that per above.
5) Browse to and select the dimensionless curve that you created above, then click the Select button.
6) In the dialog that appears, enter the label of the event (such as "10 year Chicago ...."), the return frequency and the rainfall depth that you'd like to apply to the distribution. For example the depth might be 24 hours multiplied by the IDF curve intensity for the 24 hour storm.
7) Click OK and the event will appear on the right side. If you need to add more return events, repeat steps 4-6.
8) Close the Storm Data window and assign the storm events to your scenarios/rainfall runoff alternatives by way of Components > Global Storm Events.
See Also
Importing storm data and other library information from older versions
PondPack Help - Chicago Storm Distributions (forum)