| Product(s): |
OpenFlows FLOOD |
| Version(s): |
10.02.01.01 |
Overview
This article will cover how to run a model simulation
Download the associated OpenFlows FLOOD Workspace before starting if you do not have a model
Method
Now we will run a simulation of the project included in the imported workspace. Please switch back to the “Explorer” and in the “Project Tree” select the simulation “Sim #1” (click left on it) and then select “Project” -> “Execute Models” -> “Run Now”. Next figure shows these two steps.
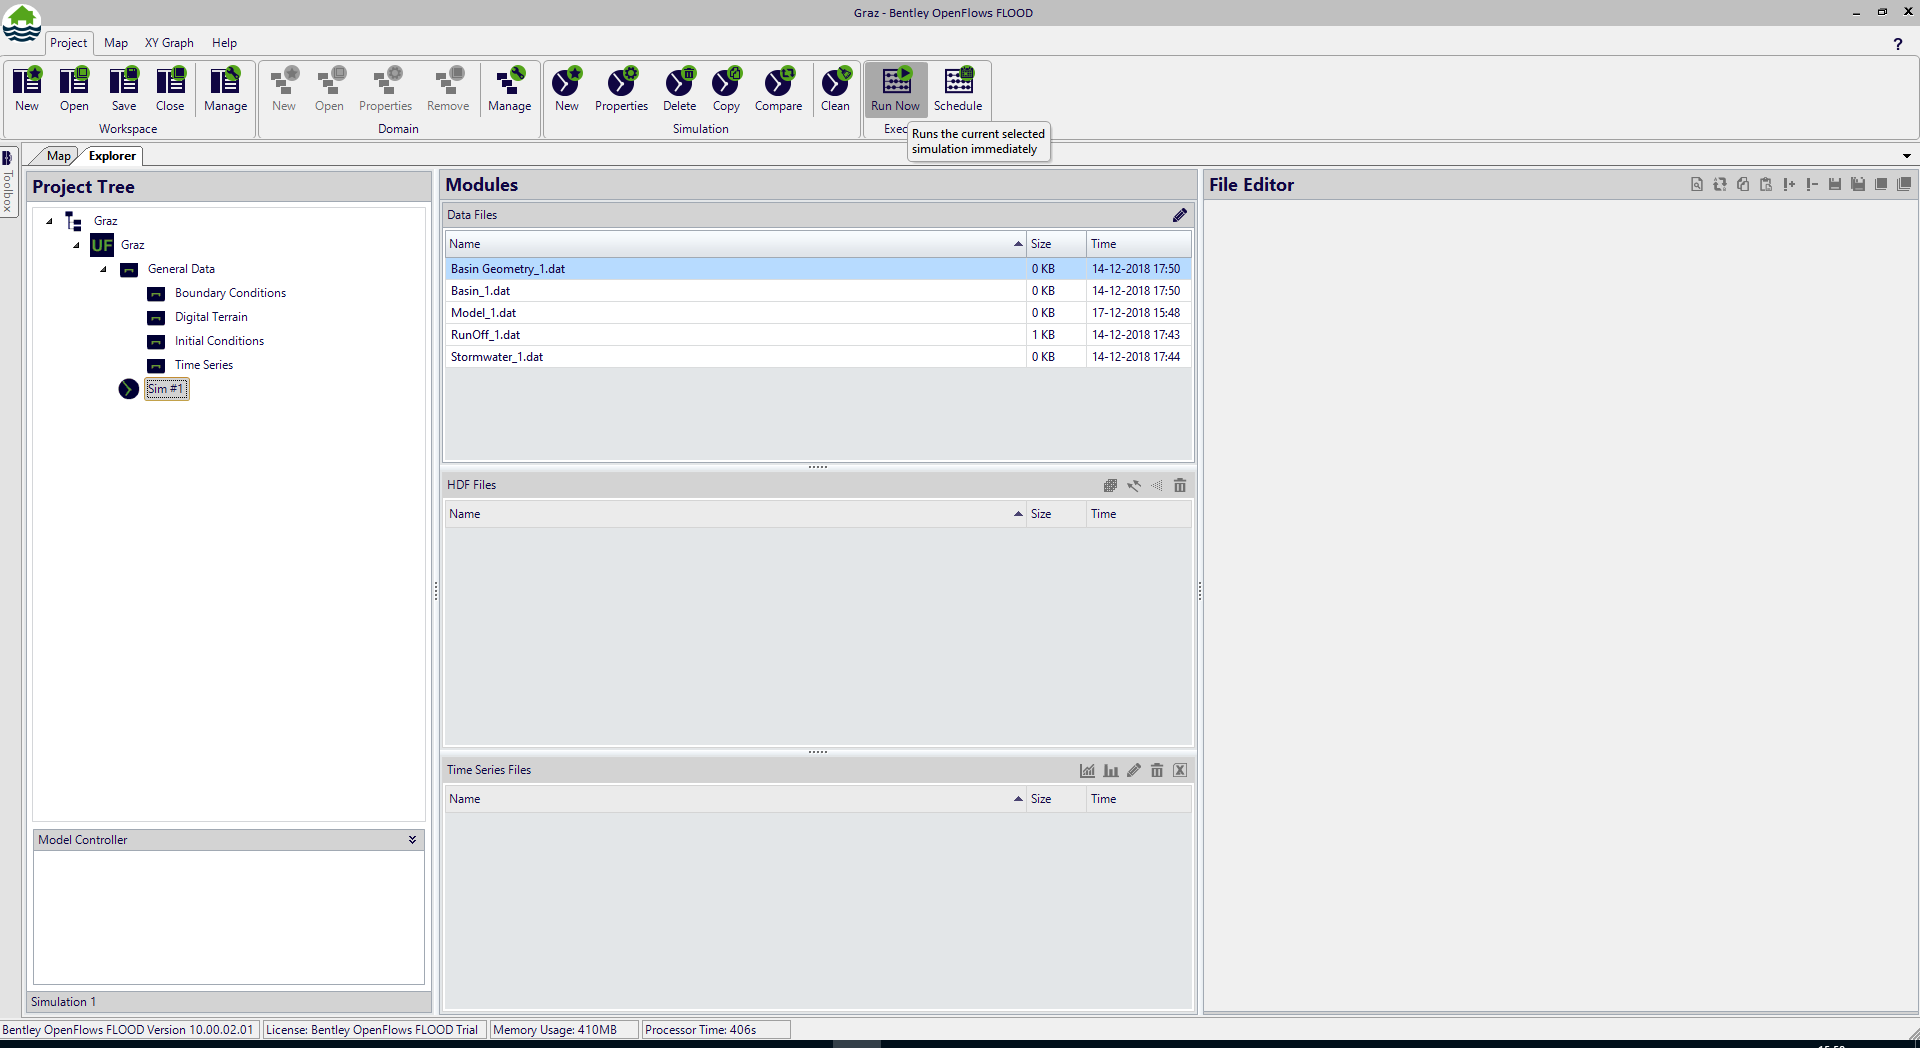
Figure 1 – Run a simulation
A window appears to confirm the execution of the model. Press “Yes” to continue.
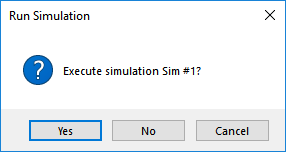
Figure 2 – Confirmation on simulation running
The box window called “Model Controller” below the domains and simulations is filled showing the progress bar of the simulation.

Figure 3 – Model Controller providing status on simulation running
The “Cancel” button in the window allows you to abort the simulation at any time.
To check more details on the simulation status press “Output” button to be able to see the current simulation time, the current computer time and the expected computer time when the simulation will end.
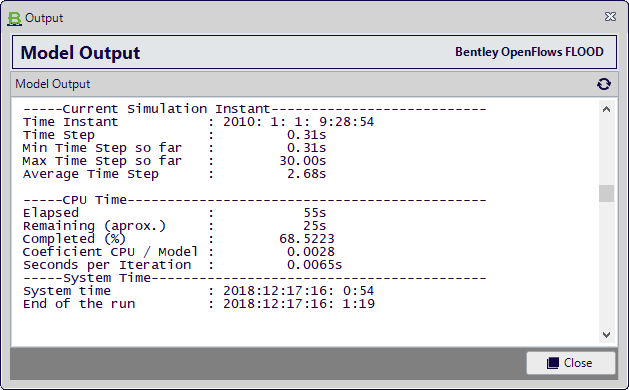
Figure 4– Model output (log file) – visualization during execution
At the end of the simulation a window notifies the user that the model has finished.

Figure 5 – Notification of simulation finished running
To see the log file of the model run select “Yes”. A window with the log of the model run will appear. We recommend scrolling down this window until the end, so you can verify if the model did end successfully.
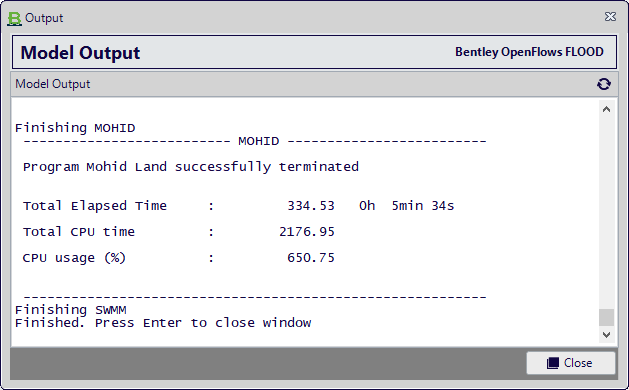
Figure 6 – Model output (log file) – visualization after execution