| Product(s): |
OpenFlows FLOOD |
| Version(s): |
10.02.01.01 |
|
Overview
This section will discuss how to incorporate and project coordinate systems into your map
Method
Any layer that you want to visualize in the map must be in a readable coordinate system and projection, and that information should be provided to OpenFlows FLOOD.
By default OpenFlows FLOOD provides geographic information in Geographic coordinates (World; WGS1984; EPSG: 4326). But after you load a web map, projection is changed to WebMercator. Nevertheless, in this specific case, you will keep visualizing mouse coordinates in map (in the lower-right) in WGS84. You can change the map coordinate system and projection clicking on the upper-right button  in the map window:
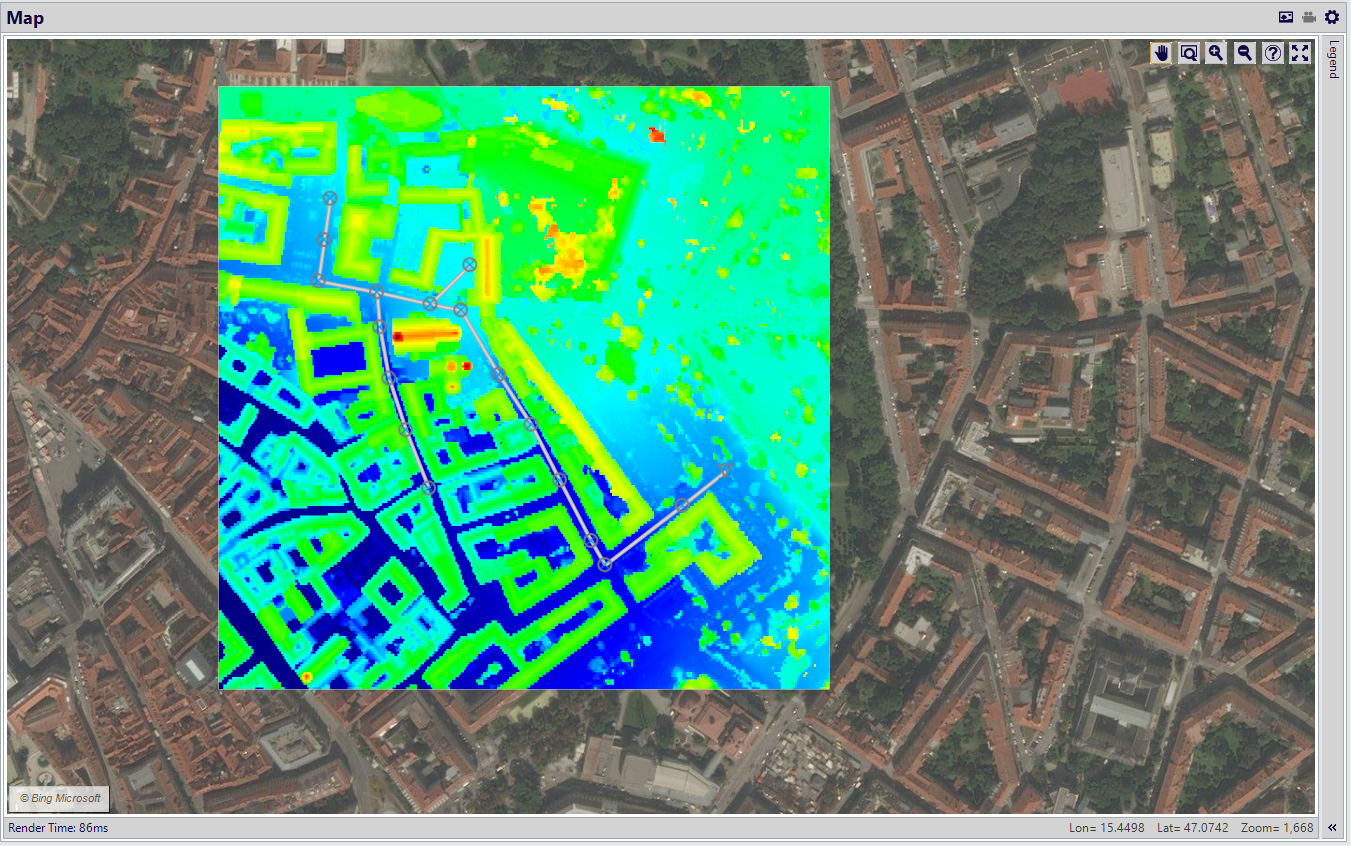
Figure 1 – Changing coordinate system or projection in map layer
By default, any data layer that has no pre-defined coordinate system and projection will be added has “no projection”, and OpenFlows FLOOD will add it in the same coordinate system (and projection) as defined in the map. Thus, using coordinate systems or projections different from the map definition should be duly selected (if it’s available in OpenFlows FLOOD) or manually introduced with a customized projection (Proj4) string when you add the layer to the map, in order to convert the specific coordinate system to other types of coordinates.
For instance, the existing project shapefile with the inlets (street gutters) is projected in a different coordinate system (UTM WGS 1984; UTM Zone 33N). This shapefile has the geographic information already embedded in the shapefile, thus when you select it, OpenFlows FLOOD immediately pre-load a custom Proj4 string, which corresponds to the UTM WGS 1984; UTM Zone 33N definition, you can add this shapefile as follows:
- go to the “Digital Terrain” folder in the “Project Tree”, from the “Explorer” tab, right-click in “Inlets.shp”, and then “Add to Map…”).
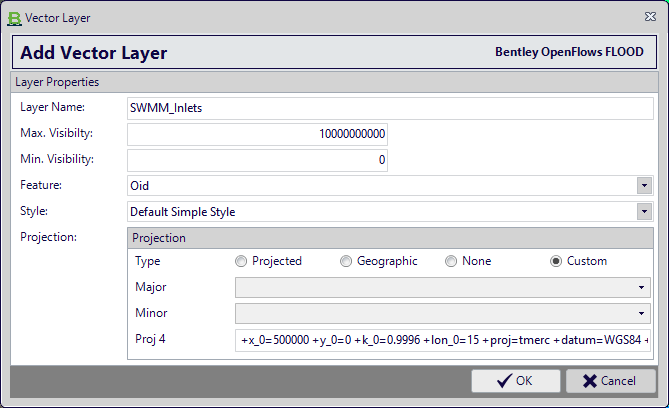
Figure 2 – Add vector layer / custom string for projection
After selecting “OK”, you will be able to see the street gutters to be included in the model, with a default blue placemark:
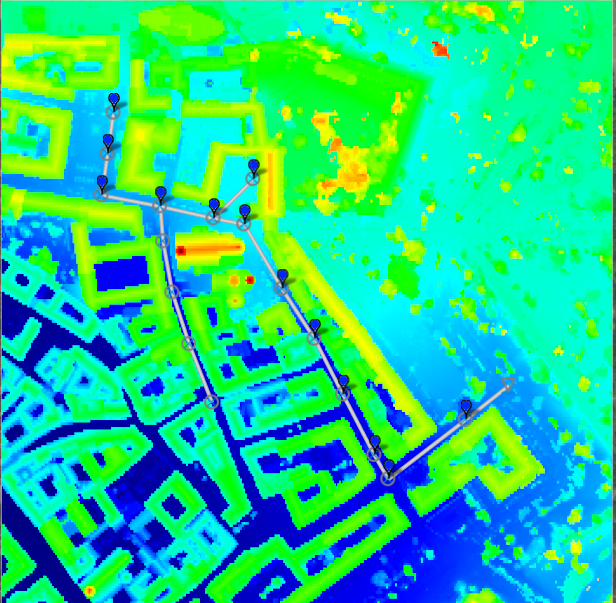
Figure 3 – visualizing street gutters / inlets