| Product(s): |
WaterSight |
| Version(s): |
10.00. |
| Area: |
Documentation |
Overview
Clicking in the Connected Project link, available from the Digital Twin Setup page, will redirect the user to the Bentley Connected Project. From here it is possible to see some of the Project Details (date of creation, who created, country, etc), manage the Team Members that have access to the Digital Twin and also to associate External Organizations.
Note: please make sure you have your organization associated; in case there is no external organization associated, contact your IT/software support, and ask him to associate your Bentley account to your company organization.
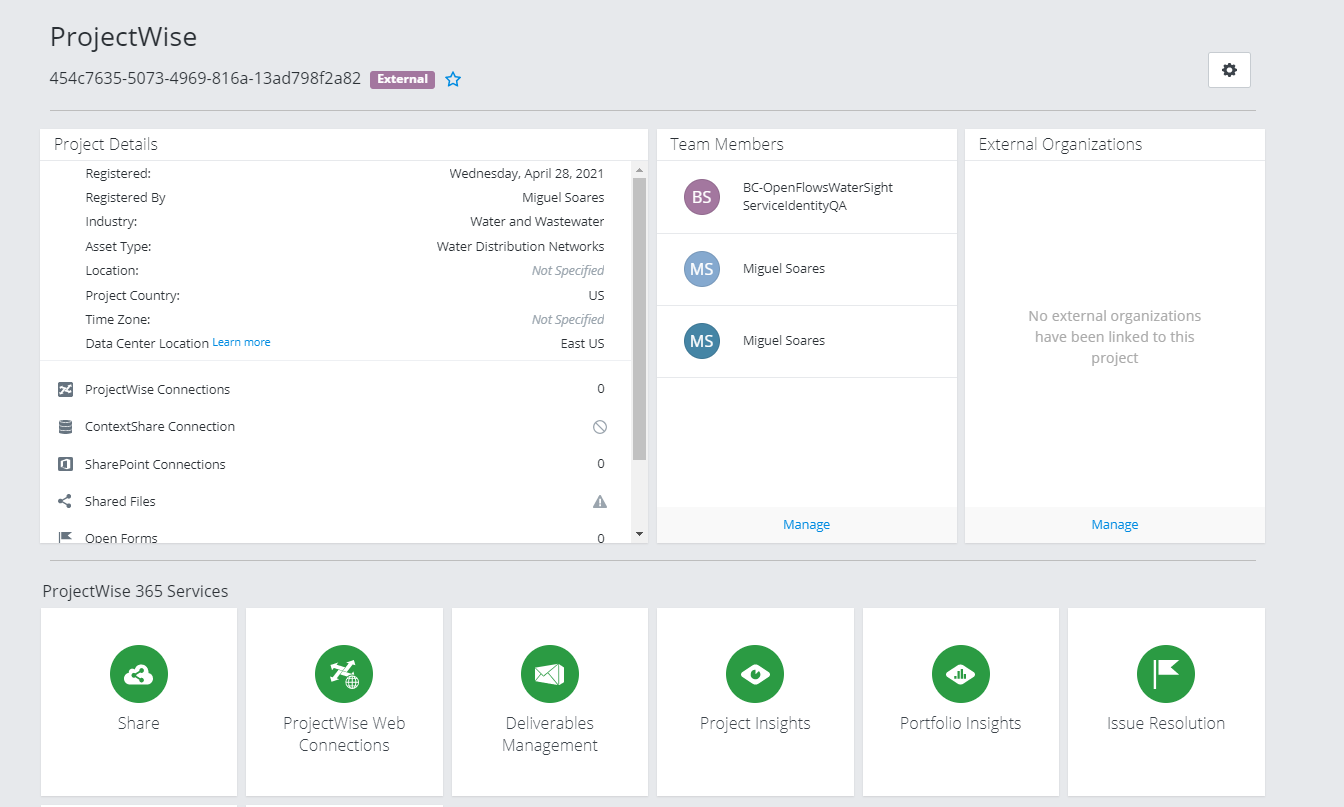
Managing Team Members
Click on the Manage button, below the Team Members section to enter in the Project Team Management page.
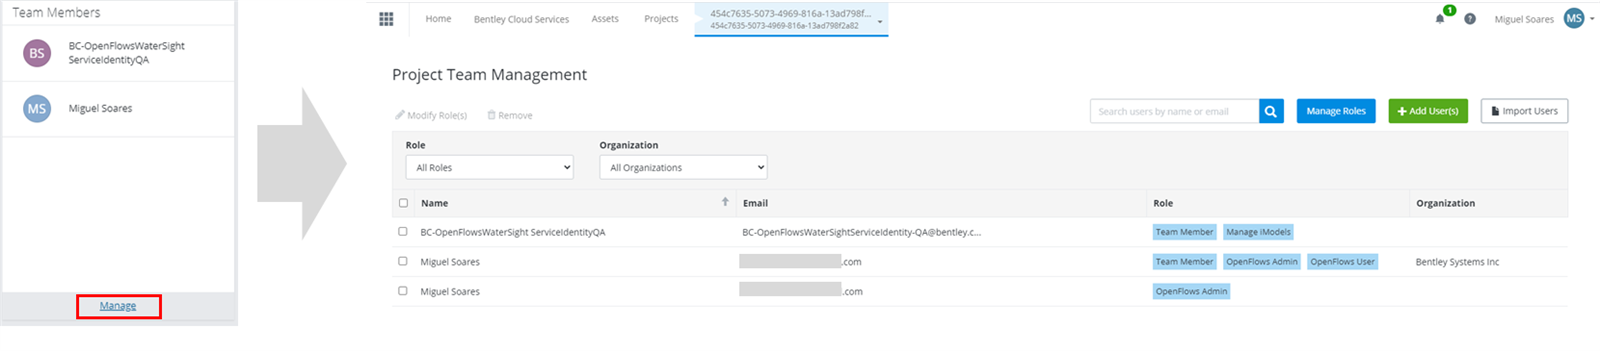
From the Project Team Management page it is possible to view all users that have access to the DT. From here it is also possible to add new users or change/set different user roles/permissions.
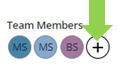
The Project Team Management page can be also accessed by directly clicking on the “plus” button located just on the right side of the Team Members, in the Digital Twin Setup page.
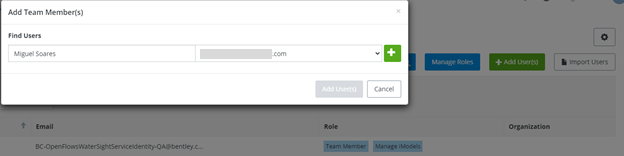
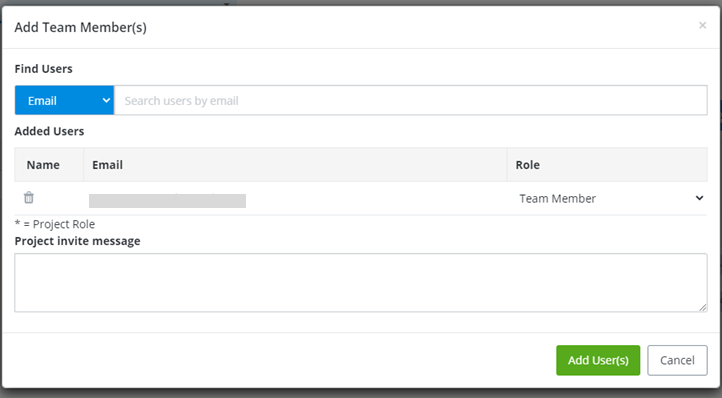
Add Team Member
To add a new team member:
- click in the “Add User” button, located on the top right side,
- From there, enter a name or email (if a name is not found, please directly enter an email),
- Click on the (+) button that appears on the right,
- Then set a role to the user (by default will be assigned the Team Member role),
- Click on the “Add User” button. For more information about user roles, please see below.
It is also possible to automatically import a list of users from a CSV file. The procedure is the following:
- click on the “Import Users” button, located on the top right,
- download the Sample File and complete it with the Email and Role of each user,
- click on the “Select File” button, browse to the location of the file you just completed and click open. All users will be automatically added to the Digital Twin and an email notification for each one will be automatically sent.

Manage Roles
Some important notes:
- the first time a user is added, a role needs to be assigned. By default the Team Member role is assigned but the user can change and it needs to be changed to one of the following profiles: OpenFlows User or OpenFlows Admin,
- Team Member should be removed to ensure that those with the OpenFlows User role don't have any additional permissions
- the OpenFlows User role corresponds to the role with the lowest levels of permissions. Users assigned with this role will have limited permissions to the WaterSight Administration page: they will not be able to edit or add new configurations (only read access will be available),
- the OpenFlows Admin role corresponds to the role with highest level of permissions. Users assigned with this role will have all WaterSight permissions, including access to the WaterSight Administration page where they will be able to edit existent configurations or add new ones,
- the project owner (who created the Digital Twin) will always have access to all WaterSight permissions,
- the project owner (who created the Digital Twin) will be able to add new users with any role or edit existent users roles.
- users with the OpenFlows Admin role will be able to add users with the OpenFlows Admin or OpenFlows User role or add/remove those roles from existing users
- OpenFlows Admin has admin permissions required to manage users/roles (Invite Participants, Remove Participants, Create/Modify Team Roles, etc.) in addition to the permissions of OpenFlows User
- external users can only manage roles with the permissions assigned to them, so a user assigned OpenFlows Admin may not be able to manage non-OpenFlows roles in the project and vice-versa
To edit an existent user role, select the user for which the role needs to be changed (1), and then click Modify Role(s) (2).
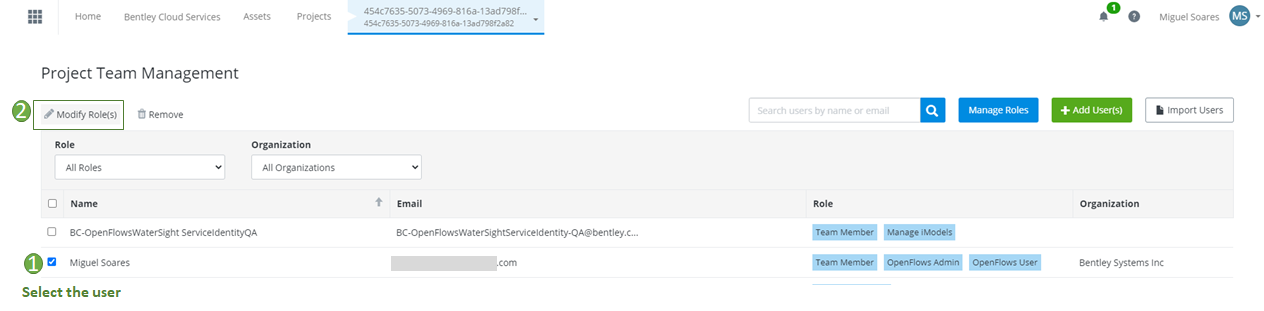
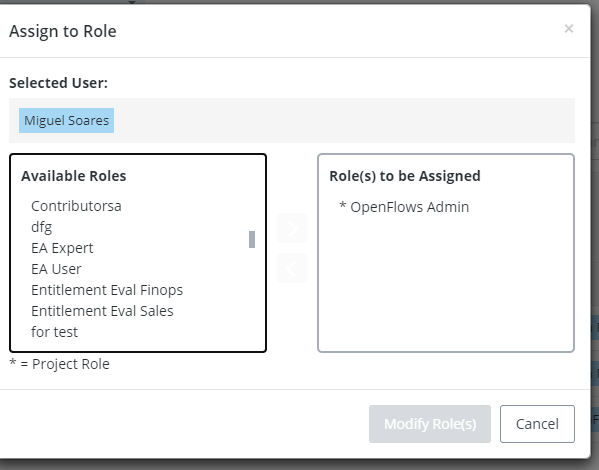
Then select one of the roles of the available roles. From there it is also possible to remove one of the existent roles.
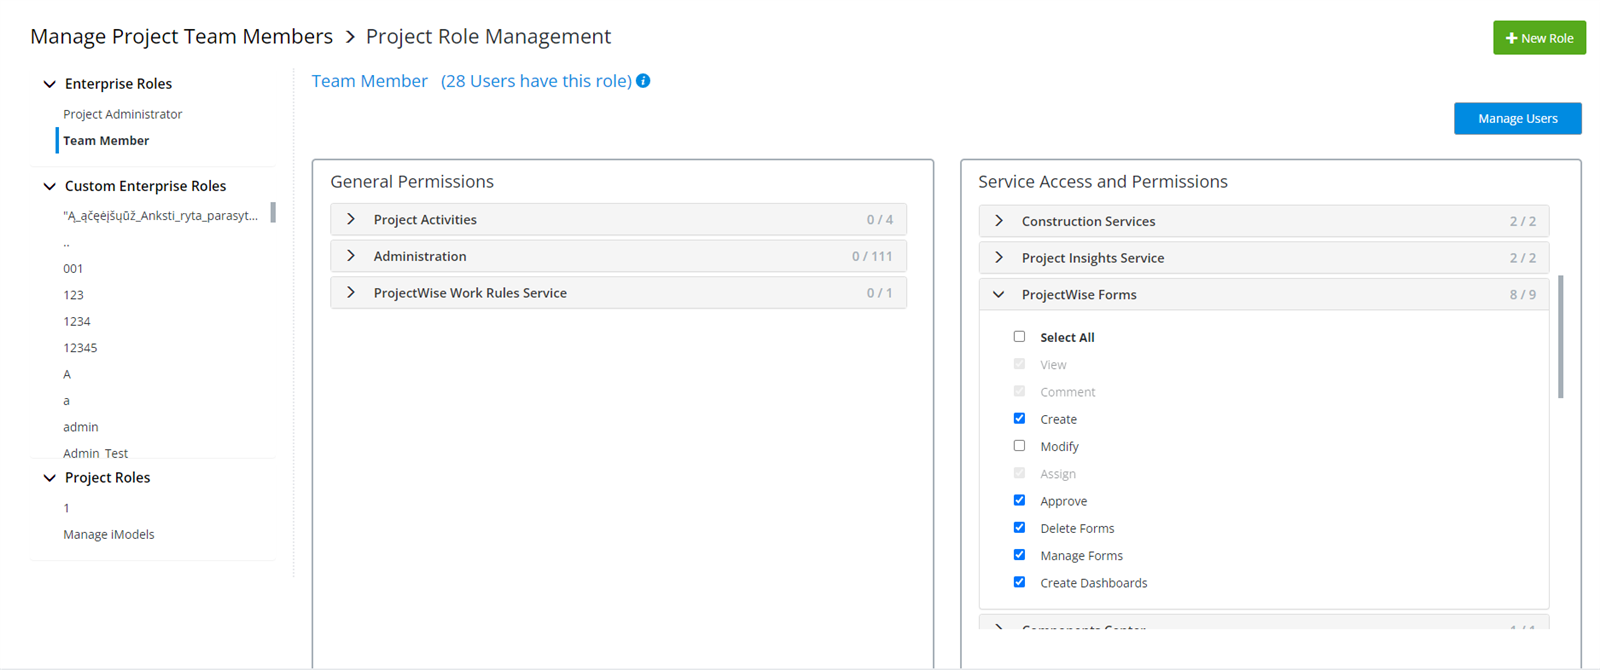
In case some permissions are missing or misconfigured, please click in the Manage Roles button located on the top right side of the users table.
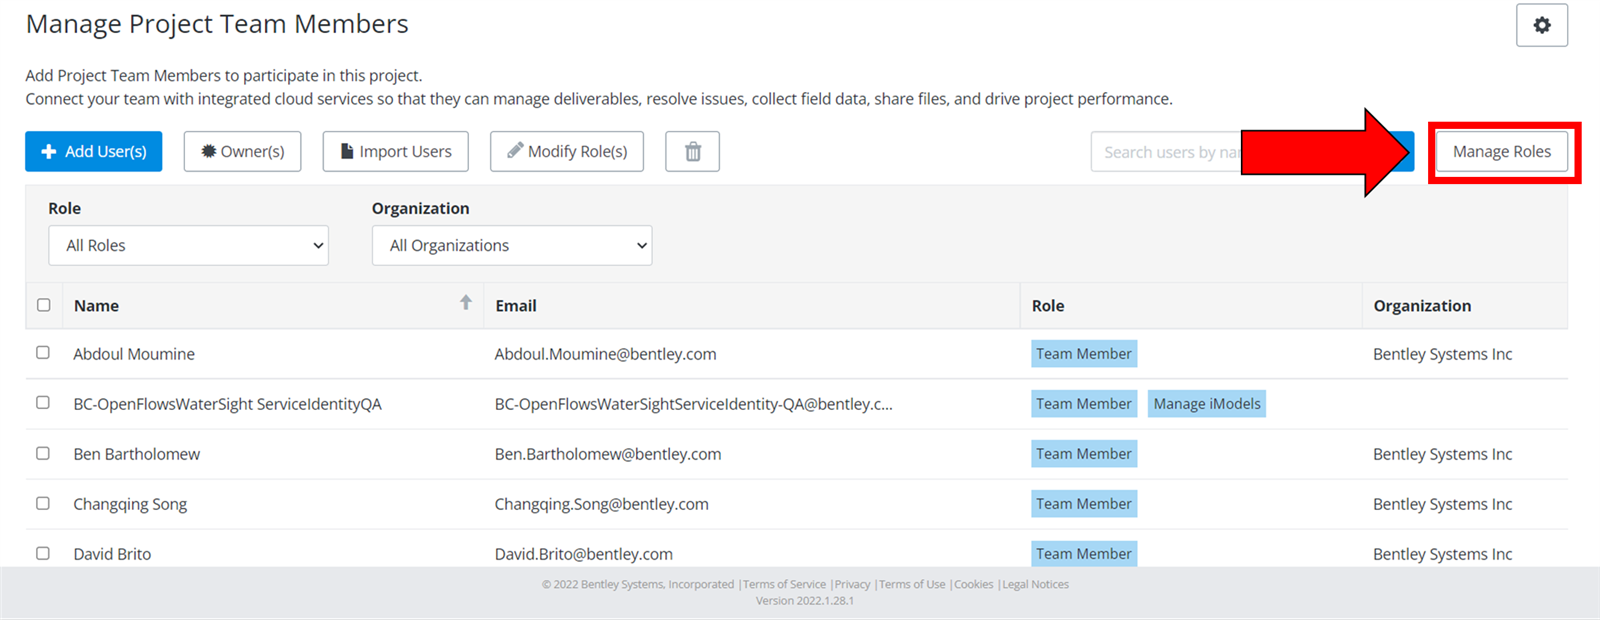
For example if you can not create issues or the form is blocked for you, please make sure that your role has the right permissions defined for the ProjecWise Forms, as shown below.
For more information about WaterSight, please go to OpenFlows WaterSight TechNotes and FAQ's.